Creating Sender Profiles
Learn how to create and manage sender profiles in WhautoMail. Sender profiles define who your emails appear to be from.
📧 Add and Configure Your Sender
Now that your domain is verified, you can set up your email sender details.
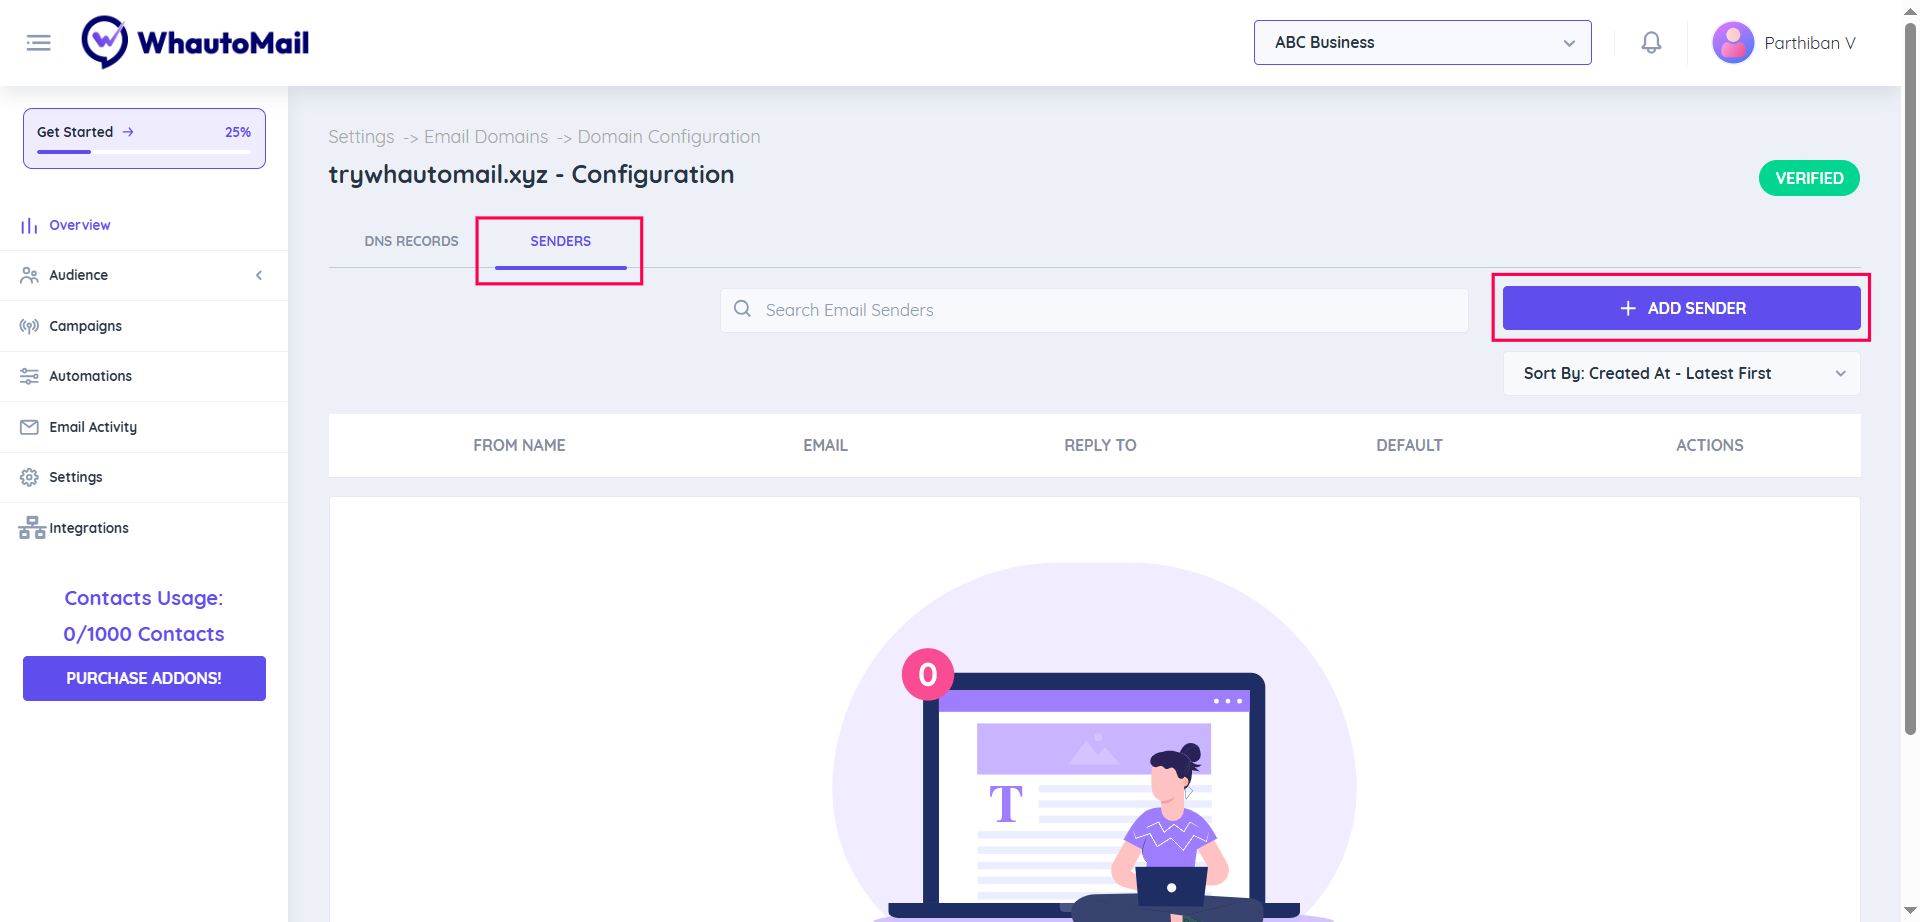
Step 1: Go to the Sender Tab
- Navigate to the Sender section in your WhautoMail dashboard
Step 2: Add a New Sender
- Click + Add Sender
Step 3: Fill Out the Sender Form
Complete the following fields:
- From Name: The name you want recipients to see (e.g., John Doe, Support Team)
- Email Address: This will auto-generate (e.g., johndoe@yourdomain.com) — you can also edit it manually
- Reply-To Email (Optional): Add a different reply-to address if needed
- Enable Default Sender: Check this box if you want this sender to be the default for this workspace
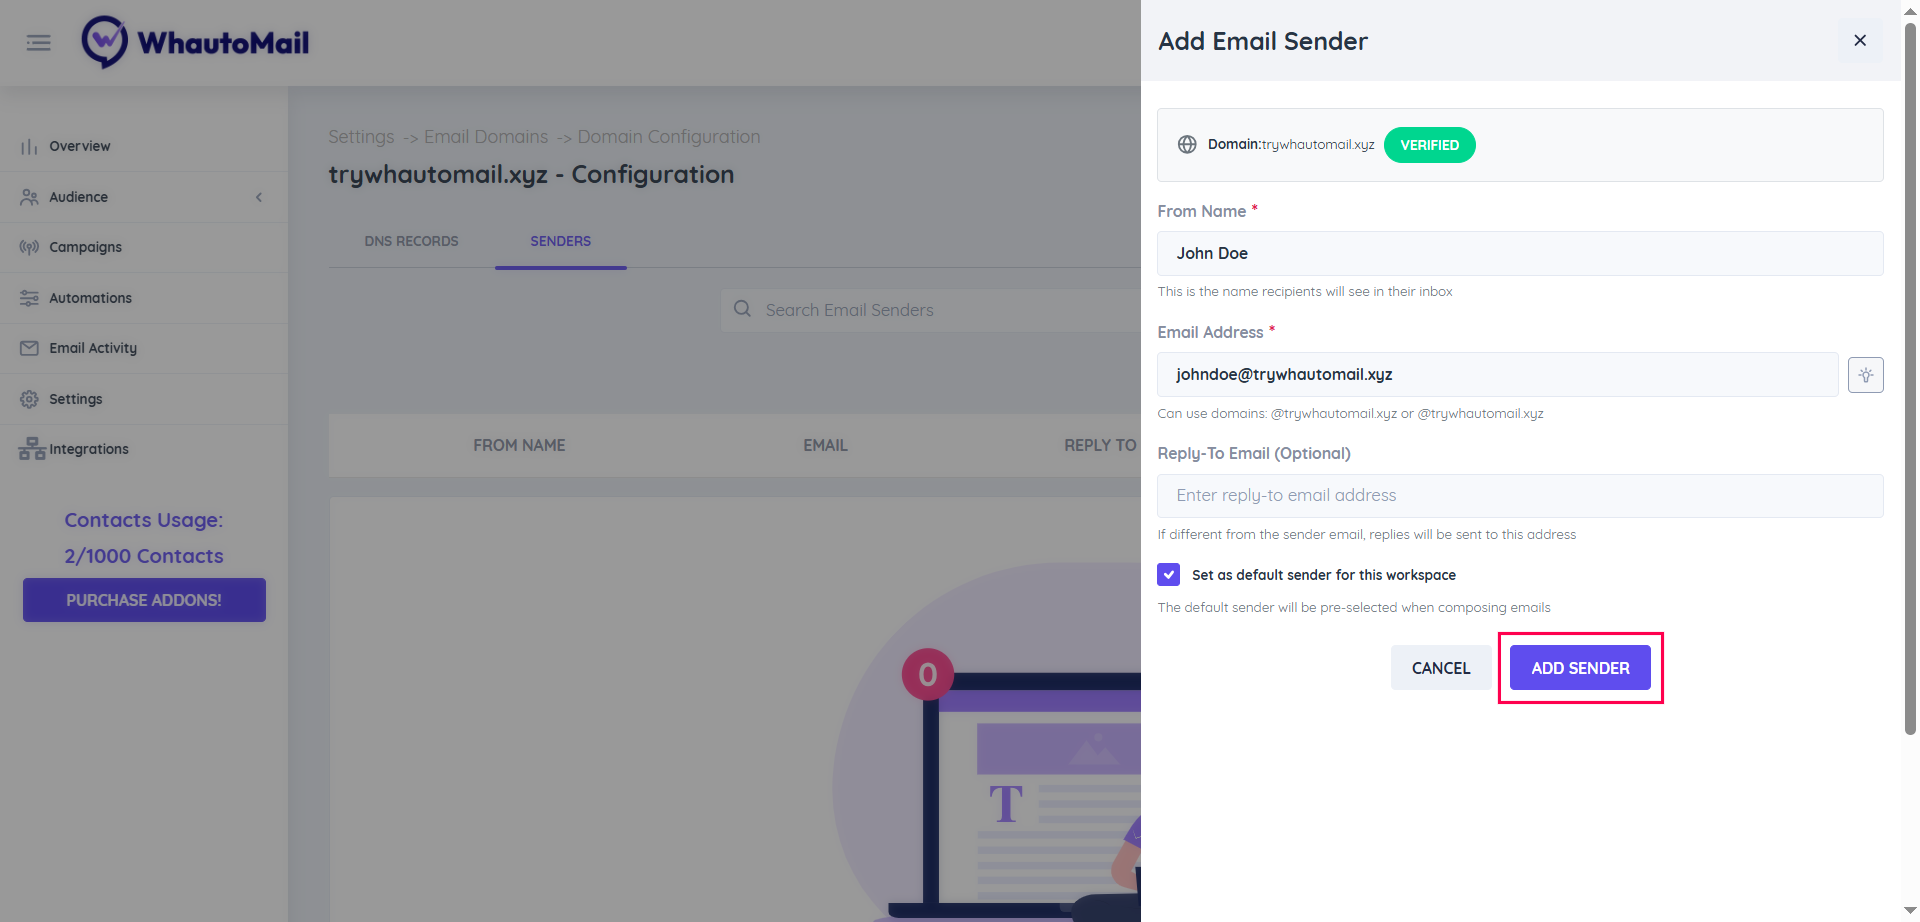
Step 4: Save Your Sender
Finally, click Add Sender to save.
✅ Success! Your sender profile is now configured and ready to use.
💡 Best Practices for Sender Profiles
Use Recognizable Names
- Choose a "From Name" that your recipients will recognize
- Examples: "John from Company", "Support Team", "Newsletter"
Match Your Brand
- Use sender names that align with your brand identity
- Keep it consistent across campaigns
Set Up Multiple Senders
- Create different senders for different purposes:
- Marketing: marketing@yourdomain.com
- Support: support@yourdomain.com
- Newsletter: newsletter@yourdomain.com
Reply-To Address
- Use a monitored email address for replies
- Consider using a dedicated support or info email
Default Sender
- Set your most commonly used sender as default
- This saves time when creating campaigns
🔄 Managing Sender Profiles
Edit a Sender
- Go to the Sender section
- Click the Edit icon next to the sender you want to modify
- Update the details
- Click Save Changes
Delete a Sender
- Go to the Sender section
- Click the Delete icon next to the sender
- Confirm the deletion
💬 Need Help?
If you encounter any issues while creating sender profiles, reach out to support@whautomail.com - we're here to assist you!